
Email Studio:
It’s a powerful email marketing tool that harness the power of data and automation to craft high-value customer relationship. You can leverage email studio to automate transactional communication or send personalized email message to target groups.
- In Email Studio there is four features.
- Content
- Subscribers
- Interaction
- A/B Testing
We talk about Subscriber’s Data extension Section and Journey Builder:
Subscribers:
A subscribers is a person who has opted to receive communication from your organization. You must have a valid email address for each subscribers who receives emails. For each subscribers who receives SMS messages, you must have a valid phone number. Its data which will handling the emails for MC. In subscribers there is five section like My Subscribers, Data Extension, Salesforce Data Extension, Synchronized data Extension, Shared Data Items.
Data Extension:
A data extension is a feature that allows you to store and manage additional data related to your subscribers. It provides a way to extend the default subscriber attributes and capture custom information specific to your business needs.
Data Extensions are typically linked to subscribers within Marketing Cloud. This linkage allows you to associate the custom data stored in Data Extensions with specific subscribers. It facilitates personalized email content and segmentation based on the additional data captured.
Overall, Data Extensions in Email Studio provide a flexible and customizable way to store and manage additional subscriber data beyond the default attributes. As a prominent salesforce development company in India, we use data extensions to enhance the ability to personalize email campaigns, segment audiences, and capture relevant information specific to the marketing goals and strategies.
Journey Builder:
Journey Builder is a powerful feature within Salesforce Marketing Cloud that allows marketers to create and automate personalized, multi-channel customer journeys. It provides a visual interface and a set of tools to design, execute, and track customer journeys across various touchpoints, such as email, SMS, mobile push notifications, social media, and more.
There is a three creation types of Journey builder,
-
- Multi-Step Journey
- Single Send Journey
- Transactional Send Journey
Multi-Step Journey :
Journey Builder’s Multi-Step journeys enable you to create and manage customer journeys through a series of interactions with your brand. These journeys can include multiple channels and customized journey paths based on customer interactions or attributes.
They can include various touchpoints such as email, SMS, mobile push notifications, social media ads, and more.
Marketers can use decision splits, personalization, and automation to create highly targeted and personalized experiences for each customer.
Single Send Journey:
Single Send journeys enable you to create and manage simple, one-touch customer journeys within the same workspace used for Multi-Step journeys. Define the target audience for the entry source, add existing message content or create a message from scratch, and send or schedule the send for a later date and time.
These journeys involve a single action, such as sending an email, and do not have multiple stages or complex branching logic.
Single-send journeys are relatively quick to set up and execute, making them suitable for time-sensitive or ad hoc campaigns.
Transactional Send Journey:
Transactional Send journeys enable you to create and manage transactional API messages in the same Journey Builder workspace used to manage Single Send and Multi-Step journeys. This journey type allows non-technical users to configure a Transactional API entry source without assistance from a developer. You can also monitor journey performance, such as error counts and queue depth, from the Journeys Dashboard.
In this blog we can see some real scenario of how to use Email Studio and Journey Builder to send the welcome Email to all subscribers which will in data extension.
- Create Data Extension in Email Studio: You have to first create data extension for all subscriber details in email studio.
- Log in into your Marketing cloud org and in this go into Email studio and select the Subscribers.
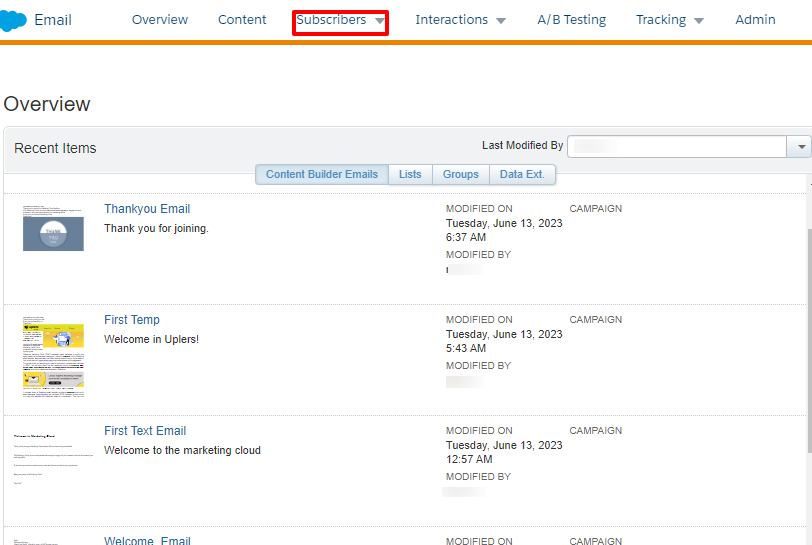
- In subscribers select the Data Extension and create new data extension. You have to select the method by which the data extension will be built.
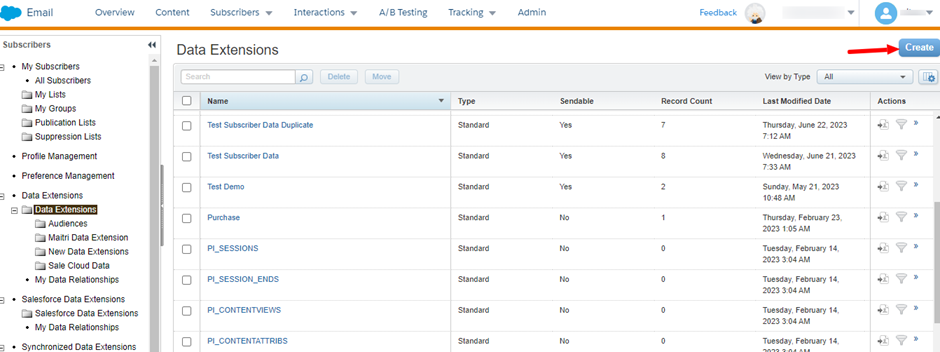
- There are three types of data extension like standard, filtered and random. If you want to create new data of subscribers then select the standard and filtered data extension.

- Now, gave the name of data extension and create the fields that you want to for your subscriber details and in the send relationship you have to select any field as a subscriber key or subscriber Id. click done.
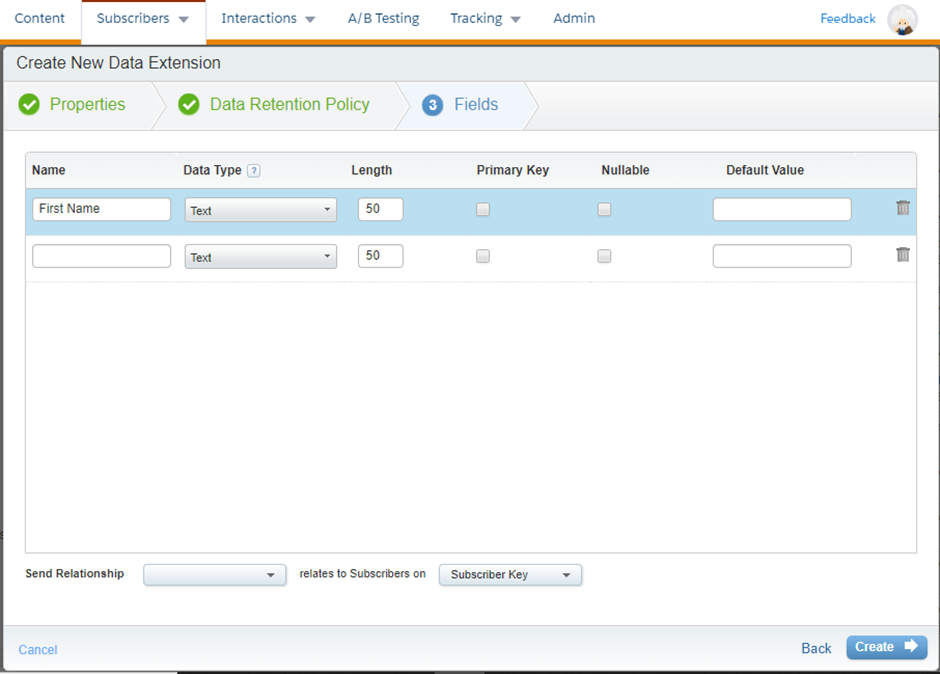
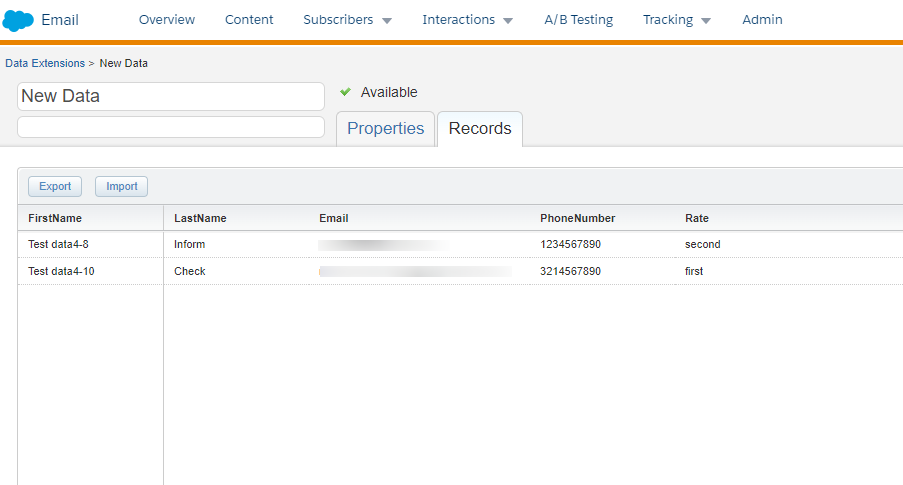
- Your new created data extension will look like that.

- Now, you have to add records in this data extension. For adding new data in data extension select the Import button and select the file from your browser and click next.
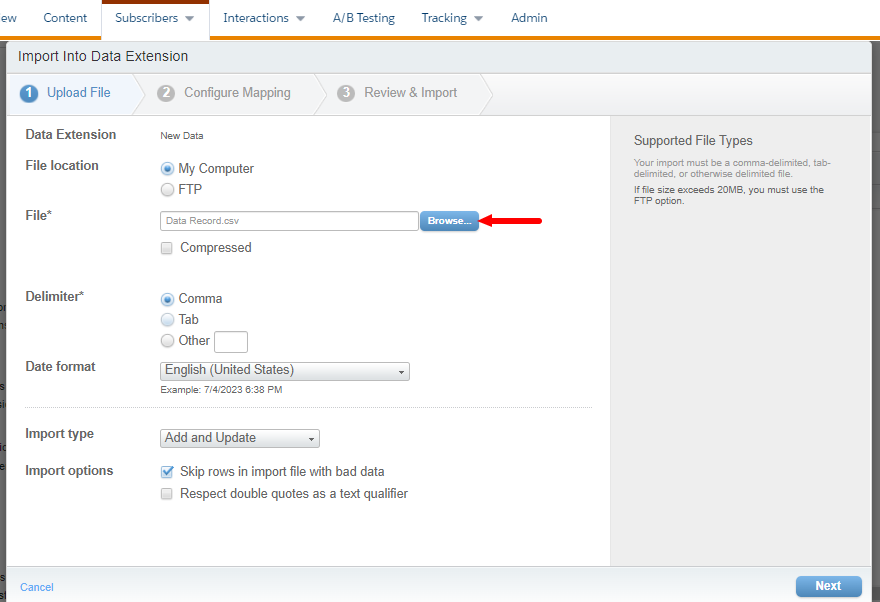
- After, selecting the file from your browser now you have to map the fields between the file which you import and fields that you create in data extension. You can map the fields by header row, ordinal and manually.
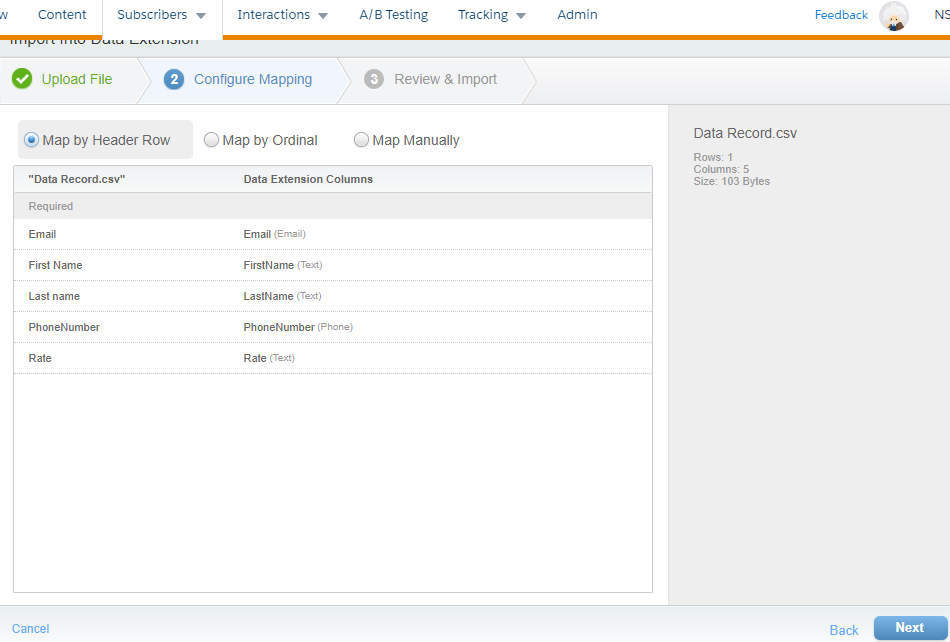
- After, mapping the fields now click next and in email address add your email address so, it will send a email after the import process will complete. Now, click import and you can see the records will imported in your data extension.
- Log in into your Marketing cloud org and in this go into Email studio and select the Subscribers.
- After, completing all this steps now you have to send the welcome email to your data extension’s all subscribers.
Create Journey in Journey Builder:
You have to create a journey builder to send the welcome email to subscribers.
-
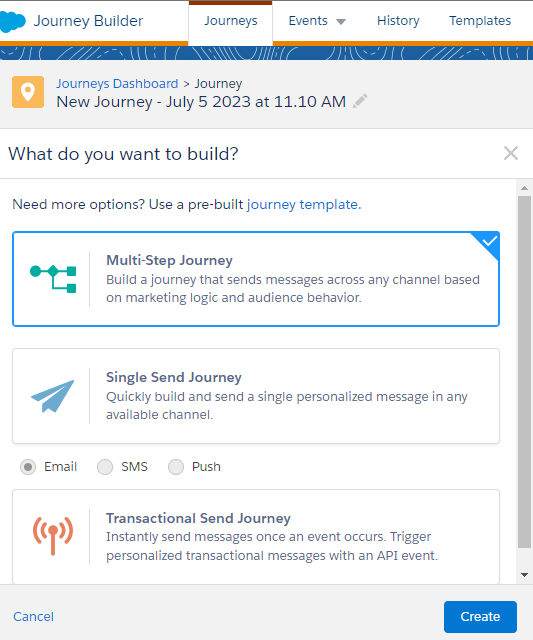
- Go in to the journey builder and create new journey.
- You can select the journey type as per your needs. Here, we can select the Multi-Step journey select it and click create.
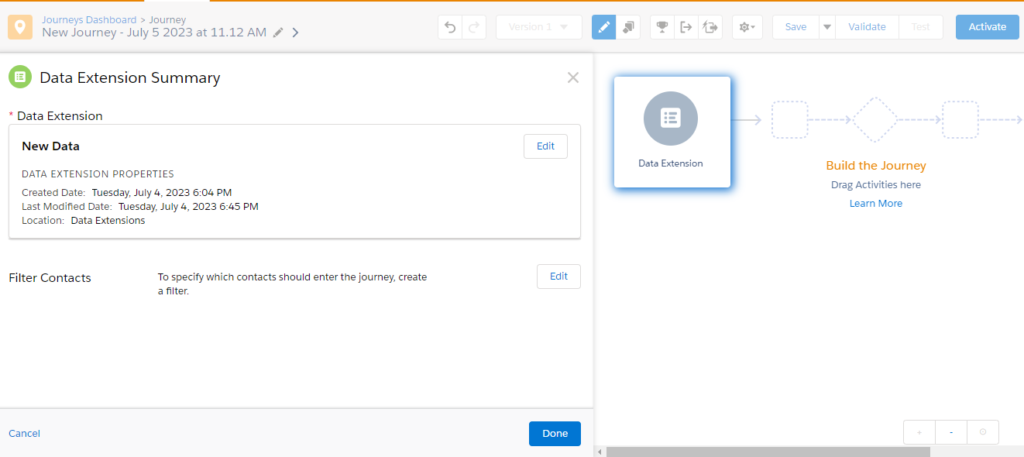
- Now, in the entry source select the data extension and in this select the data extension which you will create before and click done.
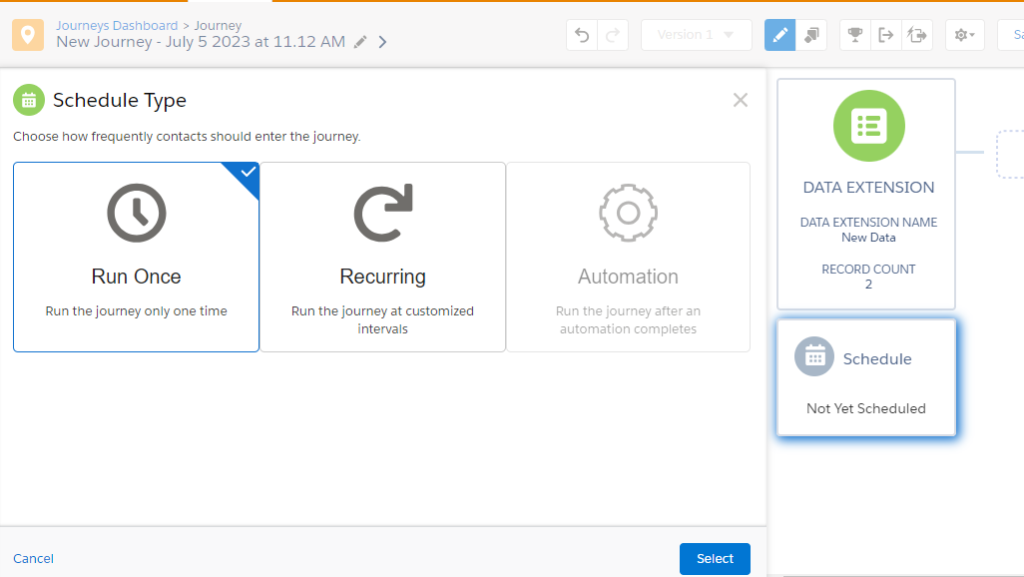
- In the schedule section select the Run Once type so your journey will run at a time when you activate it.
- Now, select the Email activity. In this you have to select the email message which you have to send to your subscribers.
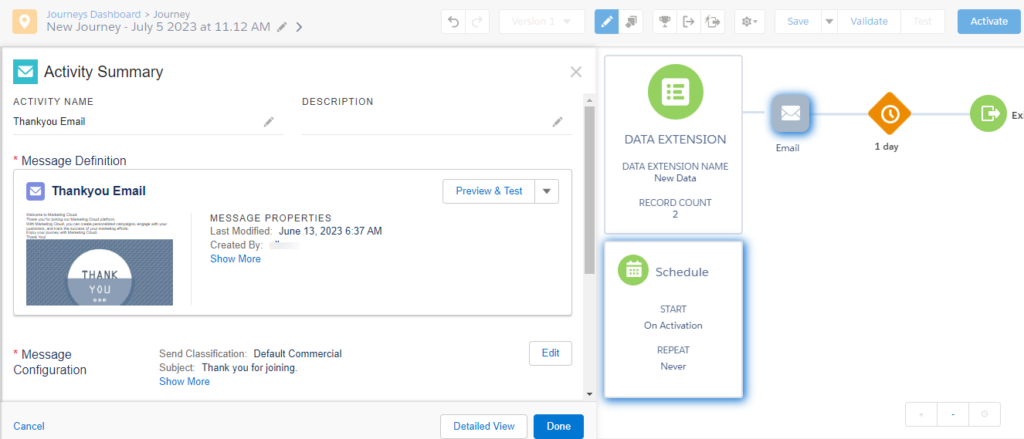
- After, that in wait activity select the duration as per your needs here we can select the 1 day and click Activate.

- Finally, after completing all these steps your data extension’s subscribers will receive a welcome email. It’s looks like that.